Testing Quixel in UE4
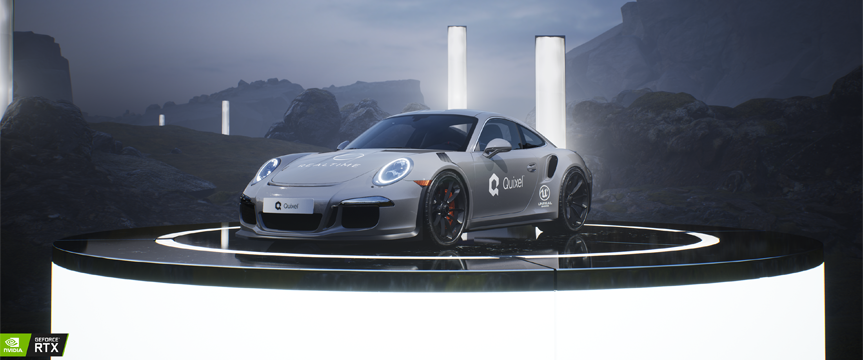
Our outstanding senior automotive artist Damian has been kind enough to share some of his process, testing Quixel in UE4 creating this beautiful image.
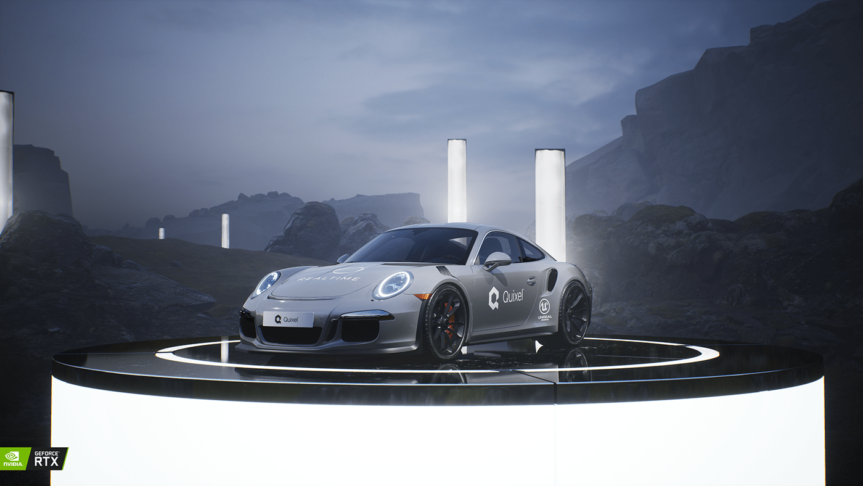
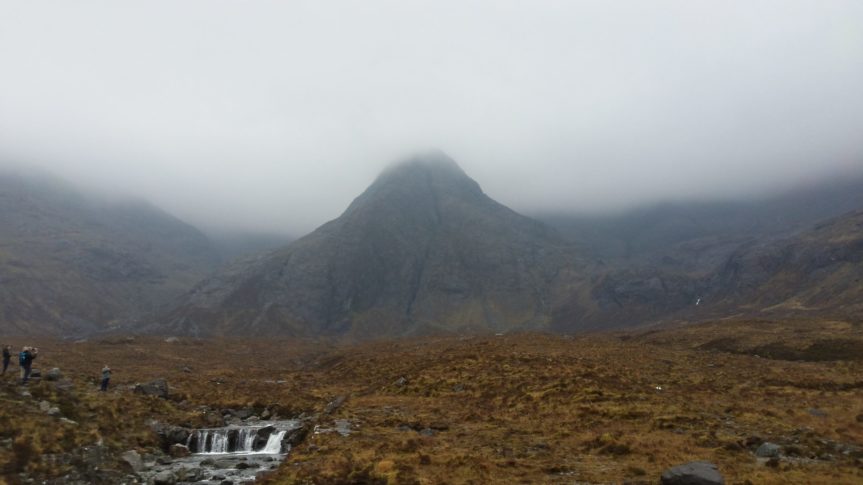
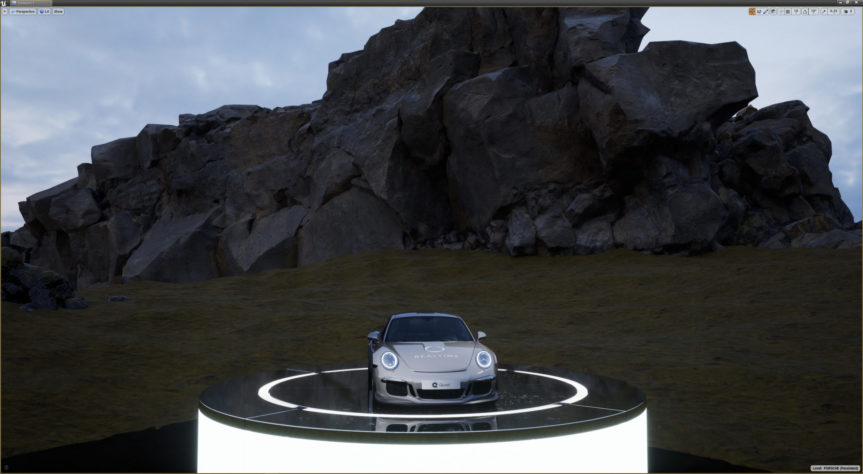
I created this scene as I wanted to try my hand at some environments after finding out that Quixel’s Megascans are now part of Unreal Engine. Also Inspired by my recent trip to Scotland, which was one of the most beautiful places I’ve ever been to, I really wanted to do a nice and realistic scenario similar to Isle of Skye from Scotland. So after realising that Megascans contains a really nice and realistic package of ‘Islandic’ mesh and material content, I decided to give it a go and try to replicate that mood which inspired me out in Scotland.
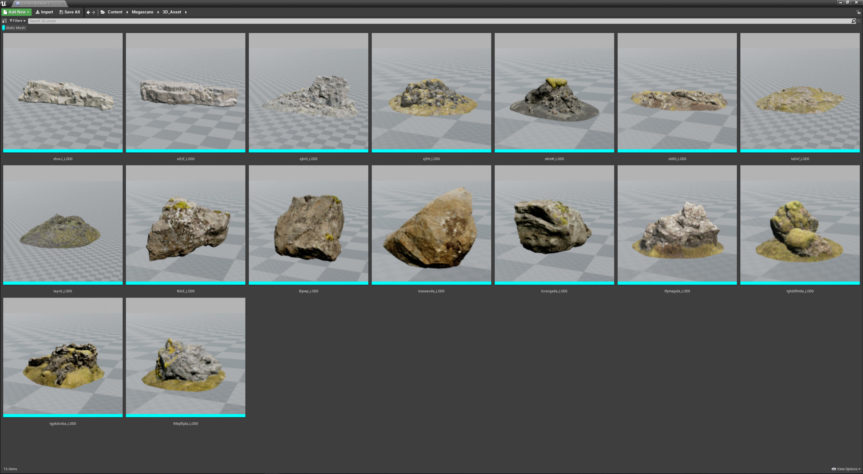
Using Megascans meshes and materials was really simple and user friendly, placing an object by one click, and adjusting them straight away In Unreal Engine as they are being created while exported from Quixel ‘Bridge’. The biggest challenge for me as an Automotive artist was to design the actual 3d background to create a nice and moody composition. But after all, everything was really quick and easy thanks to all of the Megascans assets and intuitive workflow which Unreal Engine 4 gives you.
First thing I realised was that if I wanted to make a really good looking scene I needed to Scale the assets at least 10-15 times to achieve effect I was looking for. So I created a simple terrain using plain objects from 3dsMax. I started adding assets to the scene and when it reached the level of detail i was looking for I added atmospheric fog to bring everything together.
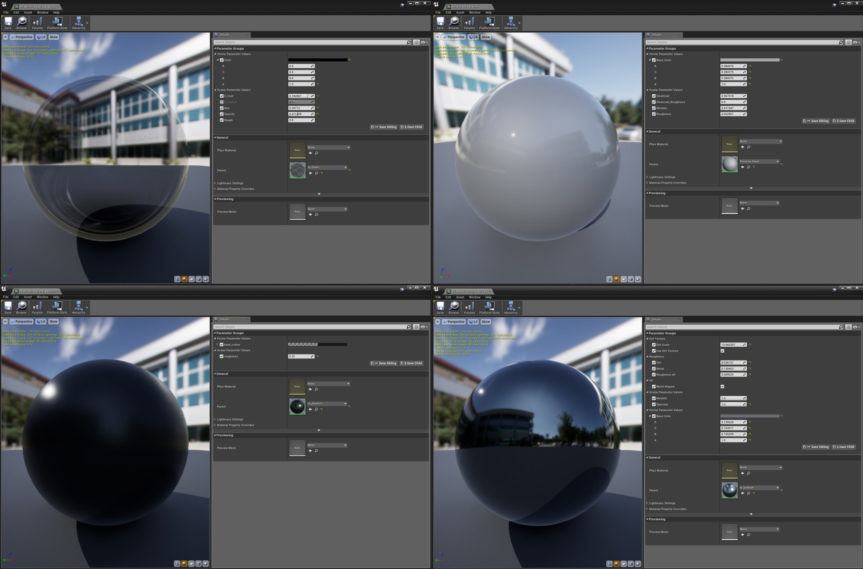
Also I decided to keep making materials as simple as possible, I always tend to receive the best results when using simple properly matched materials.
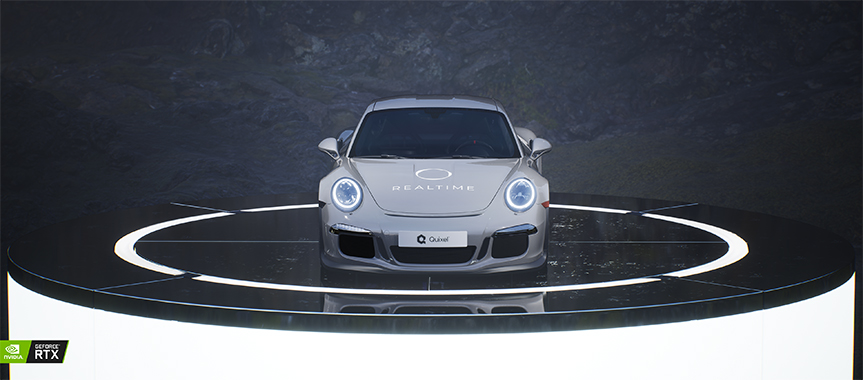
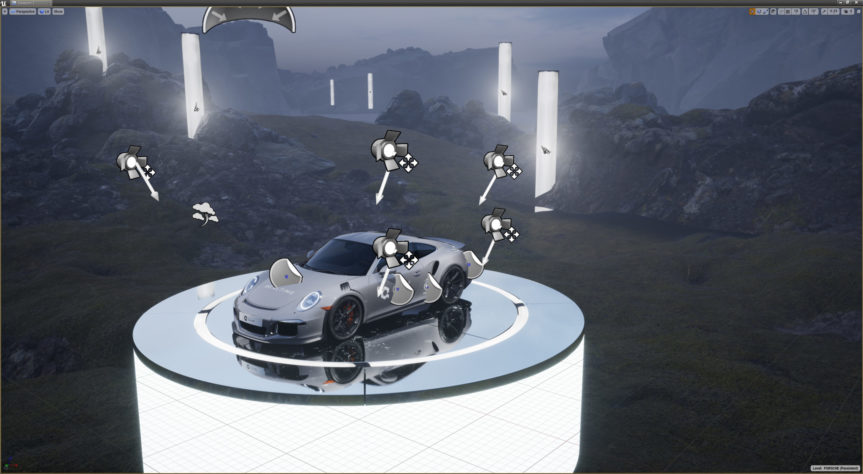
The next step was to create some matching lighting for the car in this particular scene. After few different approaches, the best solution was to use just few spot lights and horizon from the sky HDRi. Again… simple equal best result!
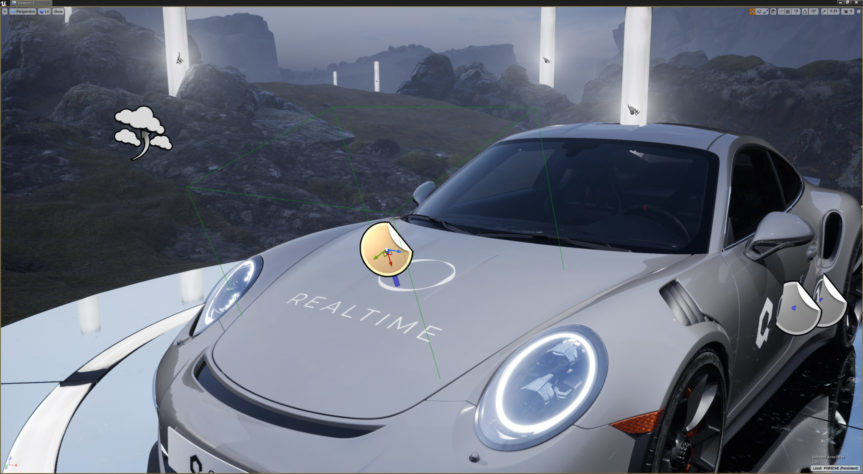
When the car was lit and i’d chosen the body colour I wanted, I deceived to add some livery to the car. For that I simply used decals which gave me quick and best result I required.
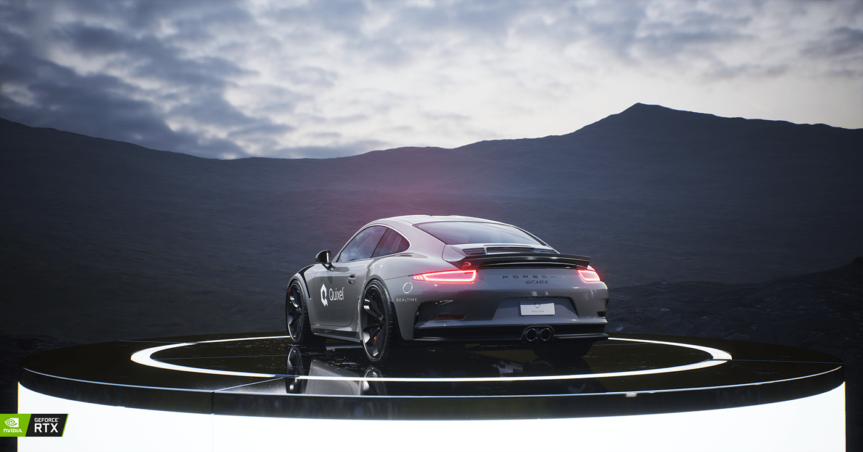
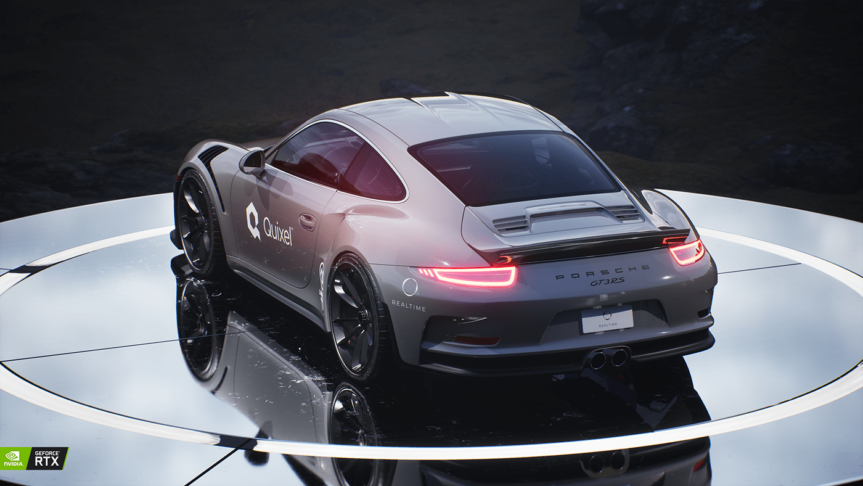
Next I decided to do some more shots to show how powerful the Megascans assets looked.
You should always keep everything tidy and organised, doing that meant that every light scenario I created was packed into a separate level with cameras, this means have an instinctive workflow for later. Every level works like different camera view, plus different lighting setup. You can also see that even some objects have a separate level.
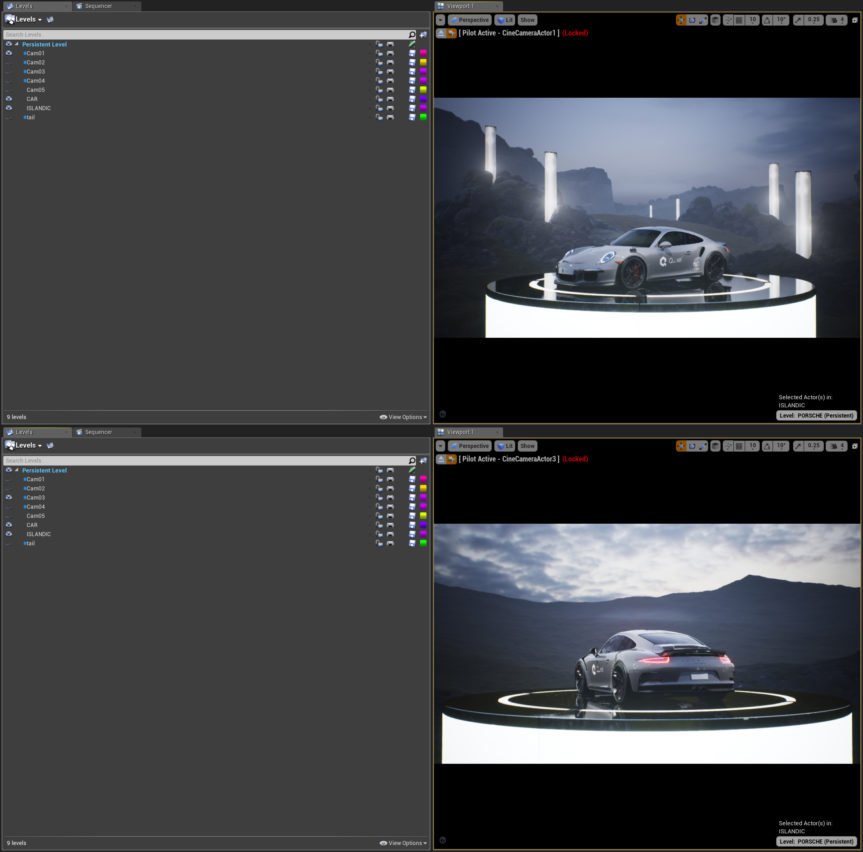
From the very beginning of this project I knew I would be using use real-time Ray Tracing feature called RTX which always works perfectly in UE4.
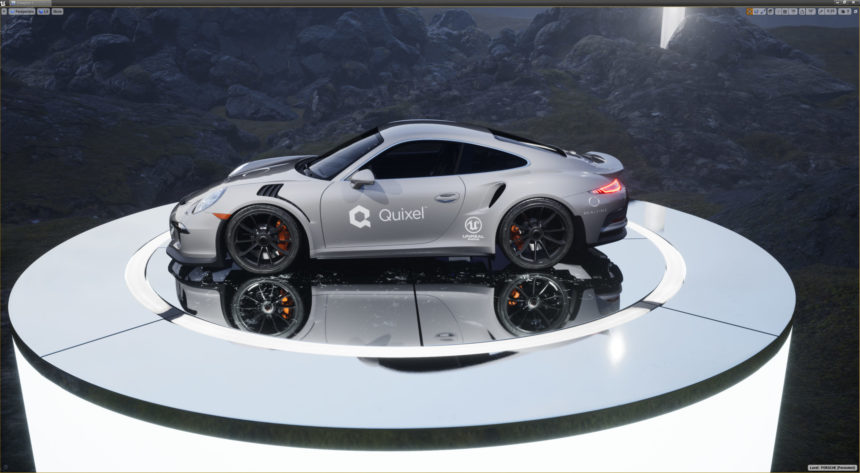
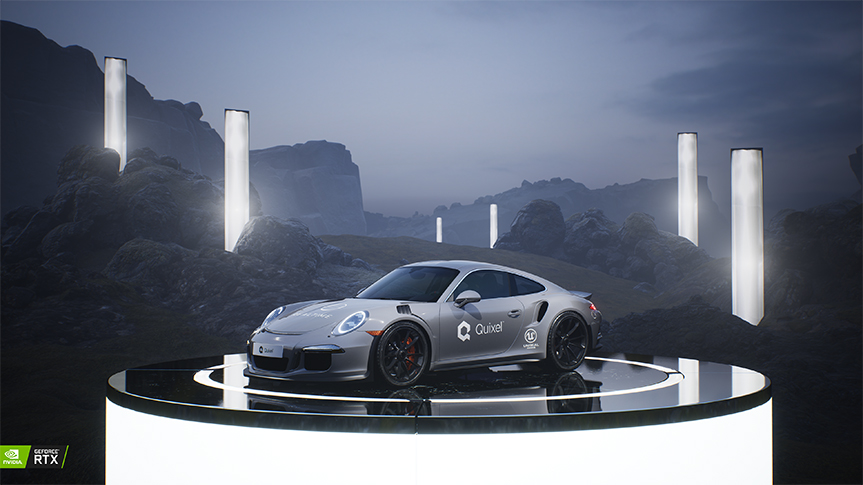
Without further ado, testing Quixel in UE4, the results!